Do You Need OBS?
Downloading and installing OBS Studio is one of the quickest ways to begin livestreaming your church services. The process is simple, and once it’s installed, volunteers can start learning how to add cameras, microphones, and graphics. This guide walks you through how to download and install OBS in a clear, beginner-friendly way.
Step 1: Go to the Official OBS Website
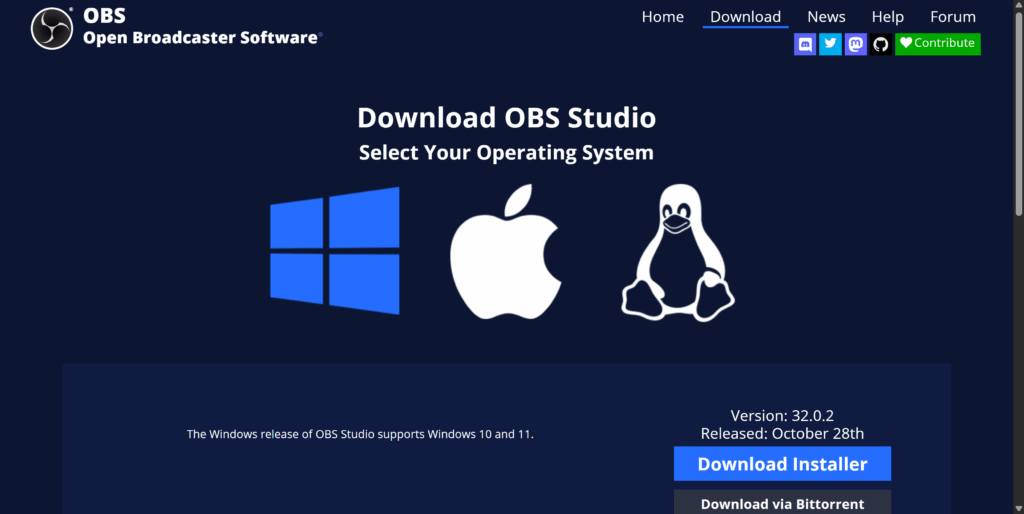
Open your internet browser and visit the official OBS Studio website.
Make sure you download OBS only from the official site, as third-party download pages may include unwanted software.
On the home page, you’ll see three download options:
- Windows
- macOS
- Linux
Choose the option that matches your computer. Most churches use Windows, but OBS works the same on all platforms.
Step 2: Download OBS Studio
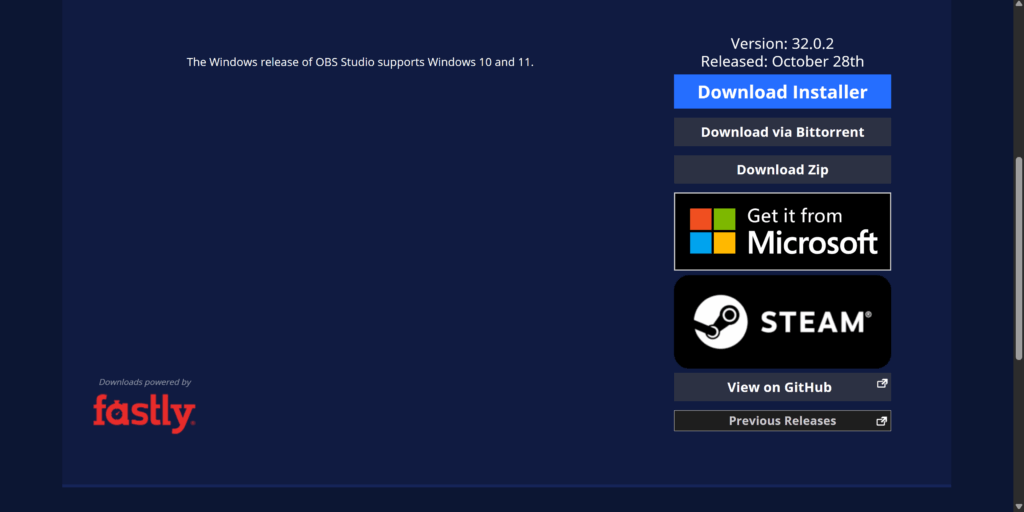
After selecting your operating system:
- The download should begin automatically.
- If it doesn’t, look for a button labeled “Download Installer” and click it.
This will save the OBS installation file to your computer—usually in the “Downloads” folder.
Step 3: Open the Installer
Locate the downloaded file and double-click it.
- On Windows, you’ll typically see a file ending in
.exe. - On Mac, you’ll usually see a
.dmgfile.
If your computer asks whether you trust the file, click Allow or Yes. OBS is safe and widely used in churches and livestream setups.
Step 4: Follow the Setup Instructions
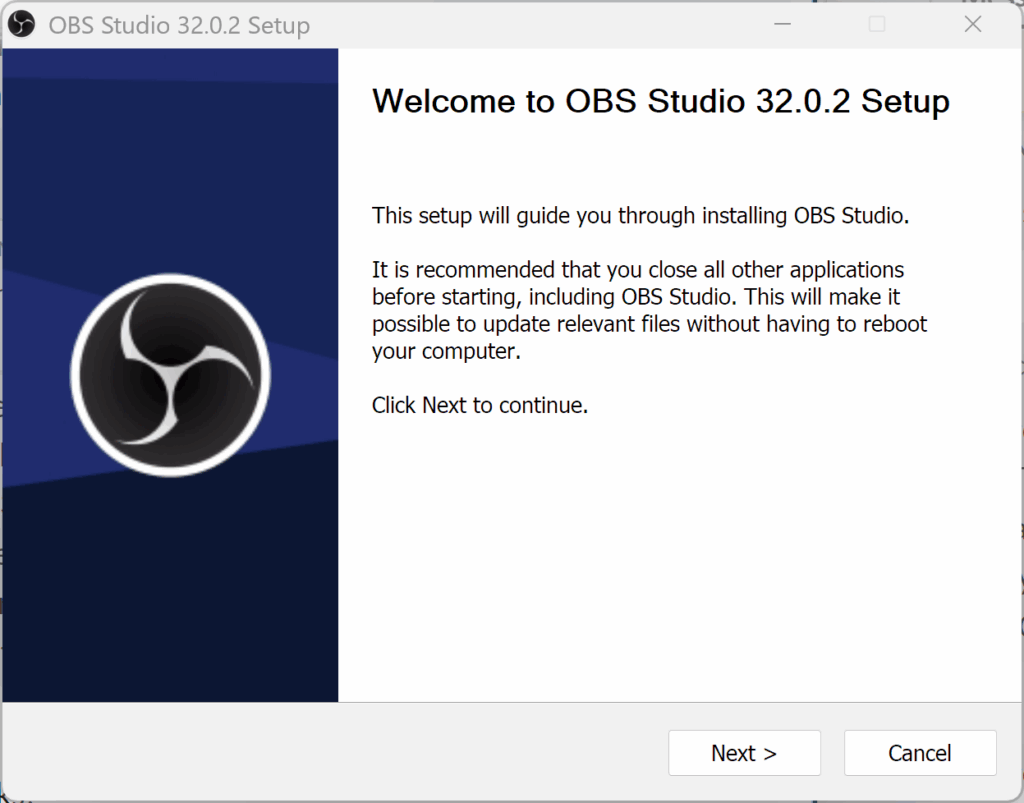
The installer will guide you through a few simple steps:
- Welcome Screen: Click Next.
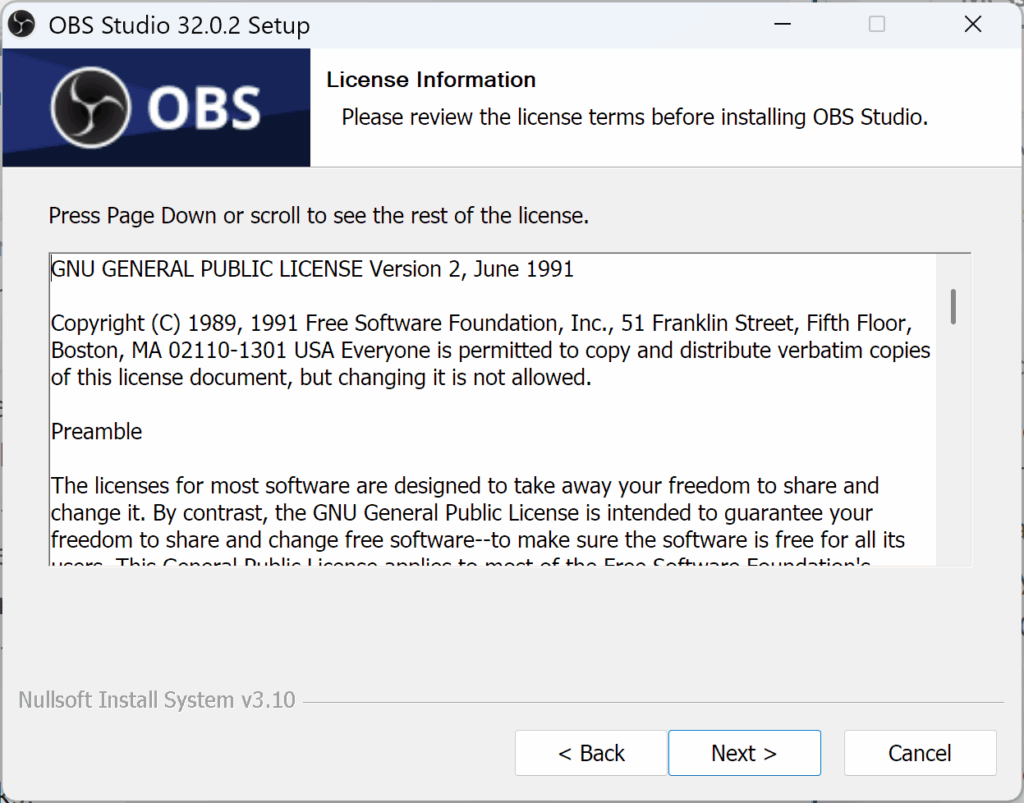
- License Agreement: Click I Agree.
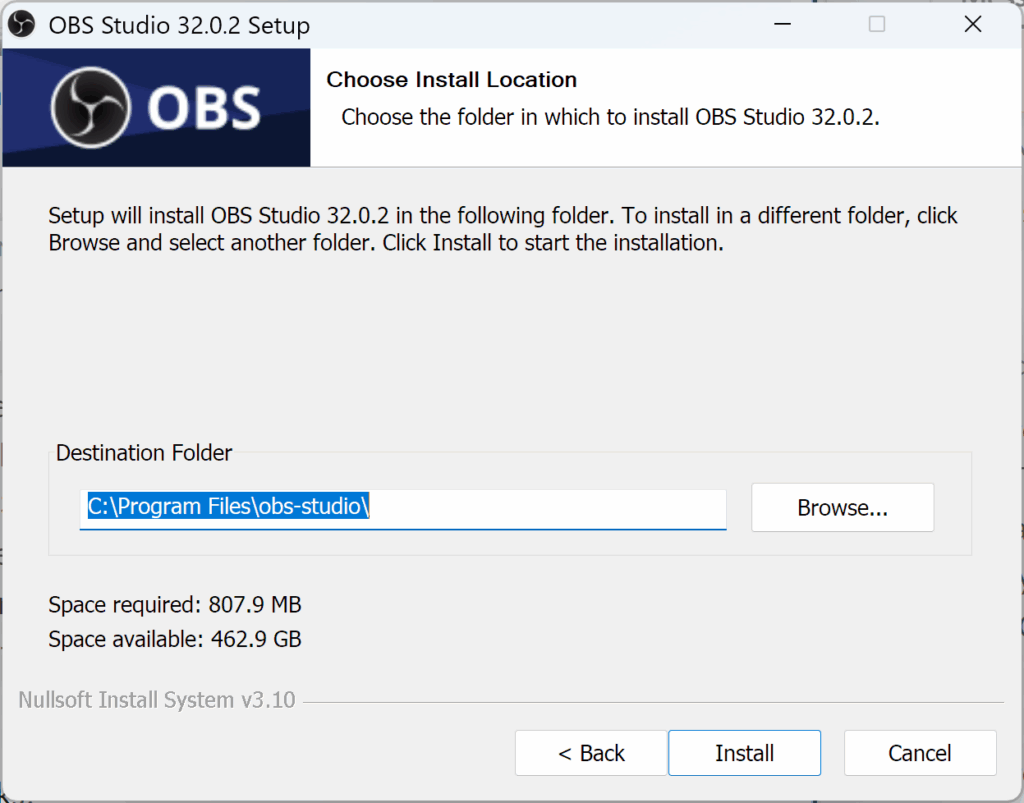
- Choose Install Location: Leave this at the default unless your IT team says otherwise.
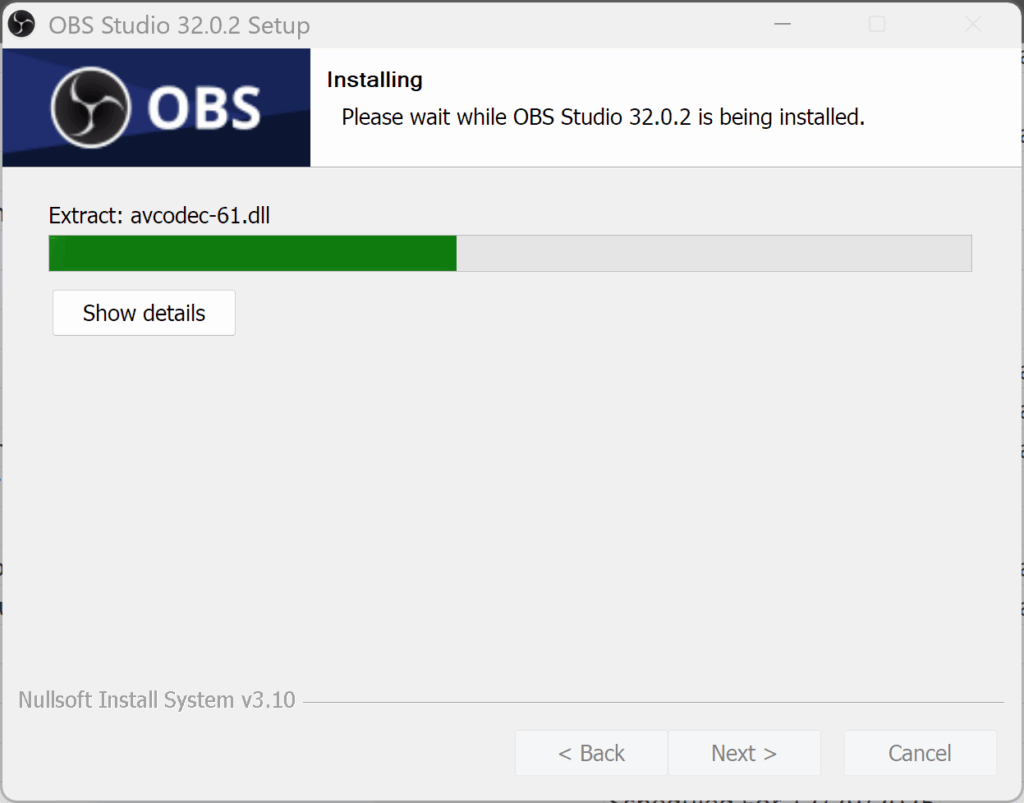
- Begin Installation: Click Install.
This process usually takes just one or two minutes.
Step 5: Launch OBS Studio
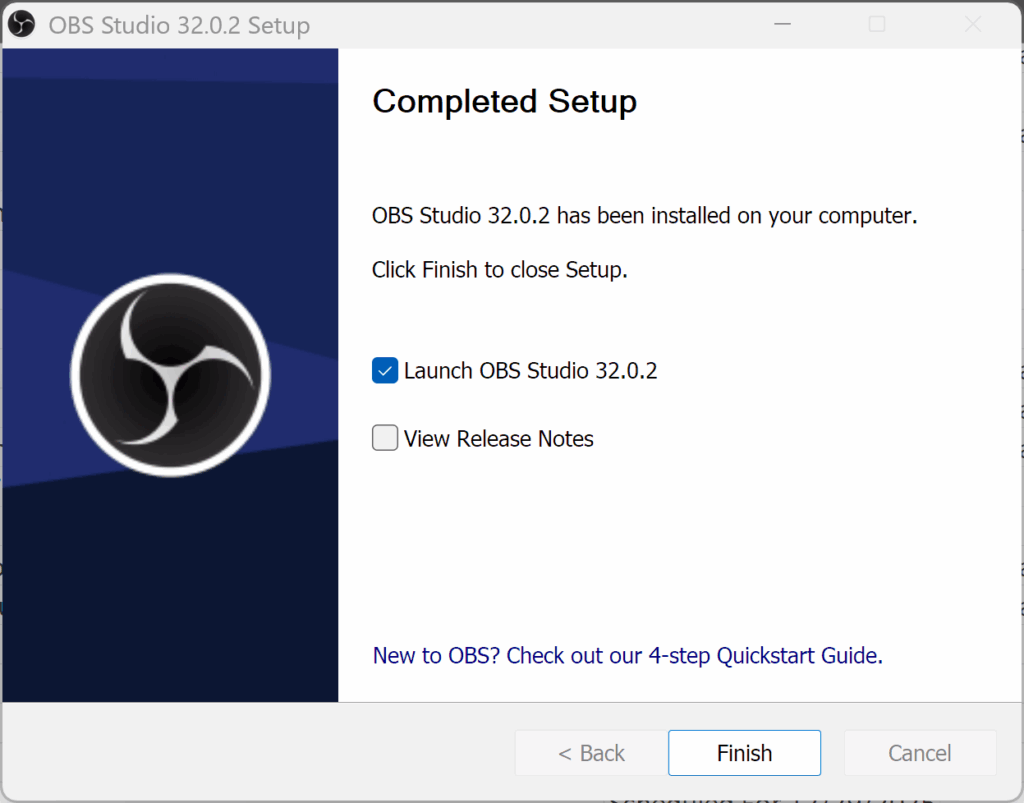
Once installation is complete:
- Click Finish.
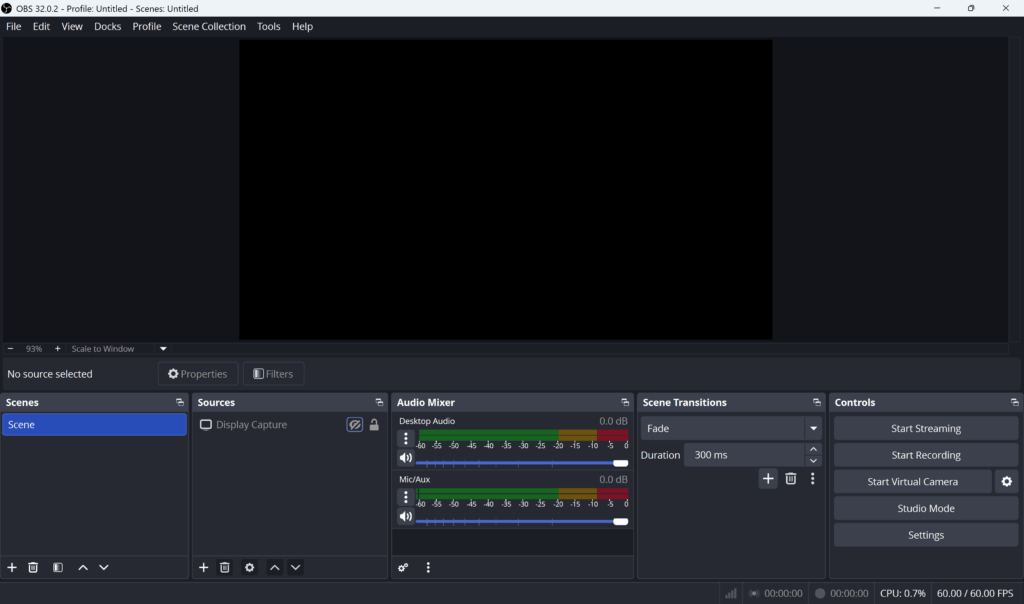
- OBS Studio will open automatically the first time.
- You’ll see the main OBS interface with empty Scenes and Sources.
If OBS asks to run the Auto-Configuration Wizard, you can click Yes. This helps set up basic streaming and recording settings automatically.
Step 6: (Optional) Update OBS if Prompted
If OBS detects a newer version, it may prompt you to update.
Updating is as simple as clicking Download, then Install, following the same steps as before.
Keeping OBS updated ensures you have the newest features and bug fixes.
Step 7: Pin OBS for Easy Access (Optional)
To make OBS easy for volunteers to find:
On Windows:
- Right-click the OBS icon on the taskbar
- Select Pin to Taskbar
On macOS:
- Right-click the OBS icon in the Dock
- Choose Options → Keep in Dock
This helps volunteers find OBS quickly each week.
Final Thoughts
Installing OBS Studio is a simple process and takes only a few minutes. Once it’s on your church computer, you can begin adding your camera, audio, and graphics. With screenshots and clear steps, your volunteers will quickly learn how to launch OBS and prepare for livestreaming. This guide keeps everything beginner-friendly so your team feels confident right from the start.
Check out our related posts:
- Why Does Our Magewell Capture Card Show No Signal in OBS (Even Though HDMI Is Plugged In)?
- How to Stream to Multiple Platforms at Once (YouTube, Facebook, and More)
This post may contain affiliate links. As an Amazon Associate, I earn from qualifying purchases.