Why Churches Make Their Own Cables
When it comes to building a dependable livestream setup, understanding the essential tools for making network cables for church AV systems can save both time and frustration. Whether you’re connecting a camera at the back of the sanctuary, wiring an ATEM switcher in the booth, or linking a streaming computer to the network, pre-made cables are often too long, too short, or simply unorganized.
Making your own Cat6 or Cat6e cables gives you flexibility, neatness, and long-term reliability—all while saving money. With a few simple tools and a bit of practice, any volunteer can learn this valuable skill.
Understanding Cable Types
Before crimping your first connector, it helps to understand which cable is right for your setup:
- Cat6: Handles speeds up to 1 Gbps for runs under 100 meters. Great for cameras, switchers, and networked audio systems.
- Cat6e: Enhanced Cat6 that can handle 10 Gbps over shorter distances. Ideal for modern switchers and NDI workflows.
- Cat6a: Certified for full 10 Gbps up to 100 meters. Often shielded (STP) for use near lighting dimmers, amps, or high-power cables.
Shielded cables are excellent in high-interference areas but trickier to terminate—some require grounding or light soldering to attach the shield to the connector. For most church installs, unshielded Cat6e (UTP) offers the best balance between performance and simplicity.
Trusted cable brands:
- Belden 2412 Cat6 – flexible and easy to terminate; great for patch cables.
- West Penn 4246ENH Cat6e – durable for longer permanent runs and rack installations.
Essential Tools for Making Cat6 and Cat6e Cables
Here are the dependable tools that make the job simple, affordable, and volunteer-friendly.
| Tool | Model | Purpose | Tips |
|---|---|---|---|
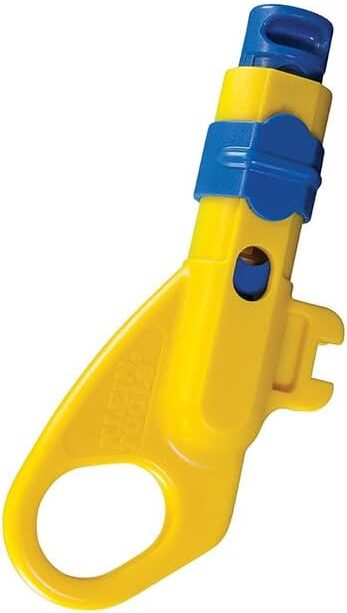
| Cable Jacket Stripper | Klein Tools VDV110-295 Combination Radial Stripper | Removes outer insulation cleanly without cutting internal wires. | Rotate gently—avoid pressing too hard. |
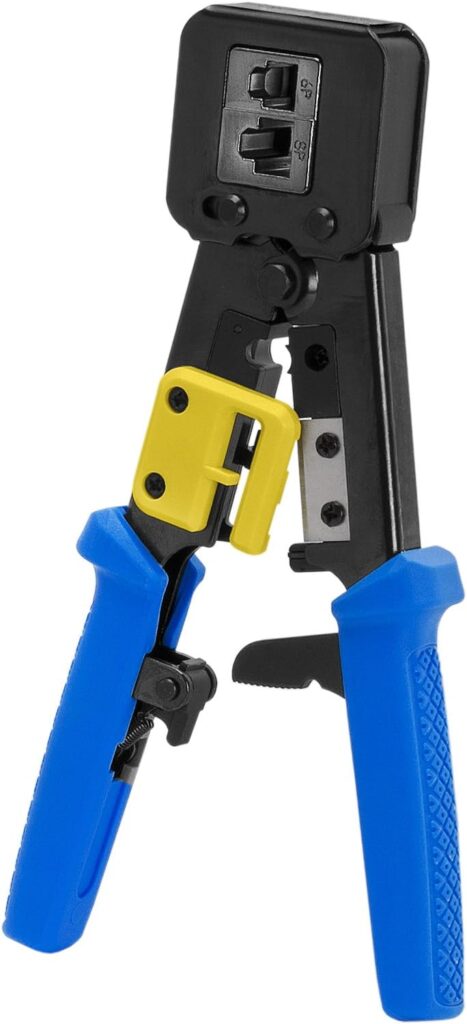
| RJ45 Crimping Tool | Platinum Tools 100054C EZ-RJPRO HD | Terminates connectors with consistent pressure. | Works with pass-through connectors—great for beginners. |
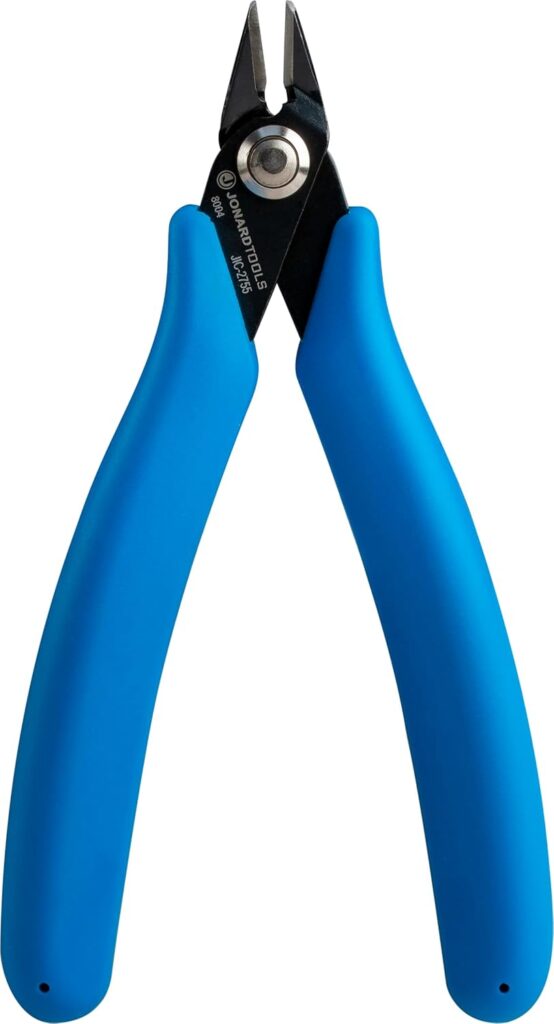
| Flush Cutters | Jonard JIC-2755 | Trims all eight conductors evenly before crimping. | Flat cuts ensure wires seat correctly. |
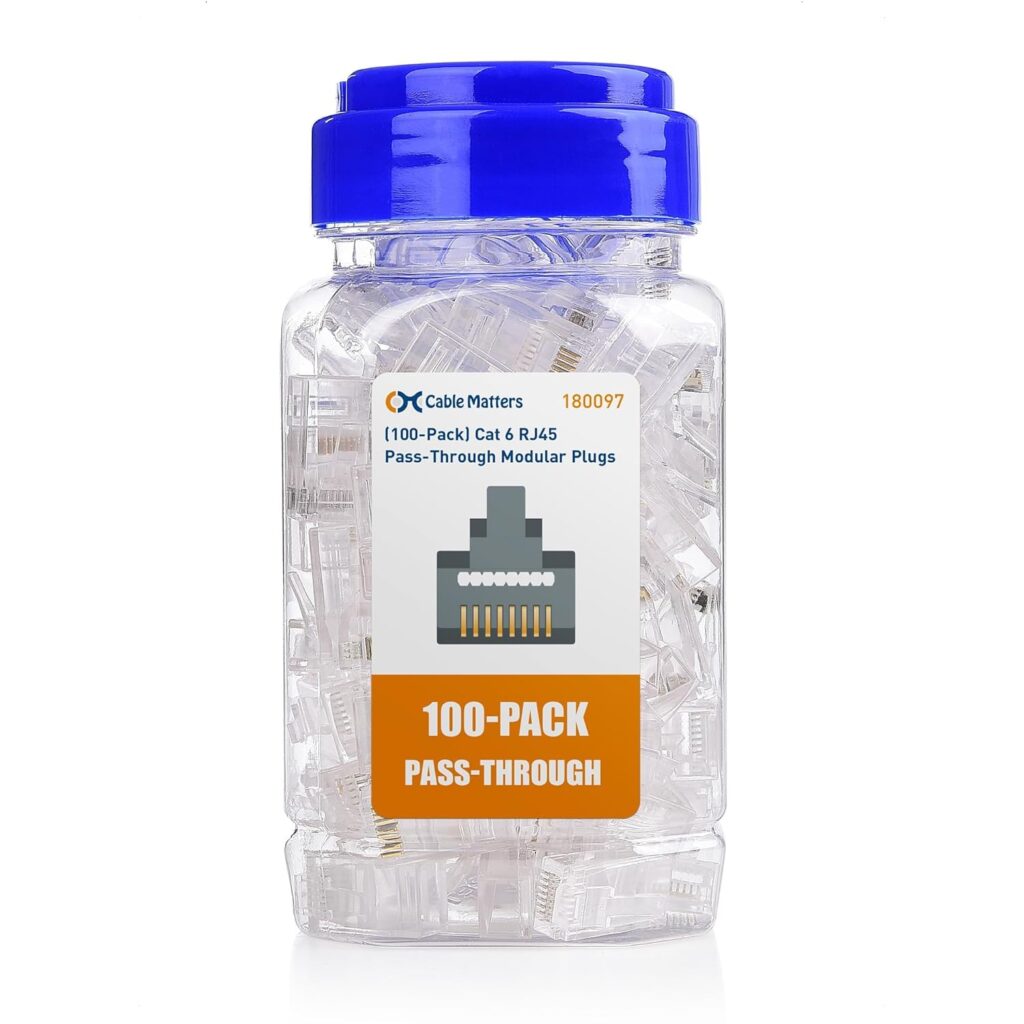
| RJ45 Connectors (Cat6 Pass-Through) | Cable Matters Cat6/6A Pass-Through Connectors, 100-pack | Connects the cable ends. | The pass-through style makes color order easy to verify. |
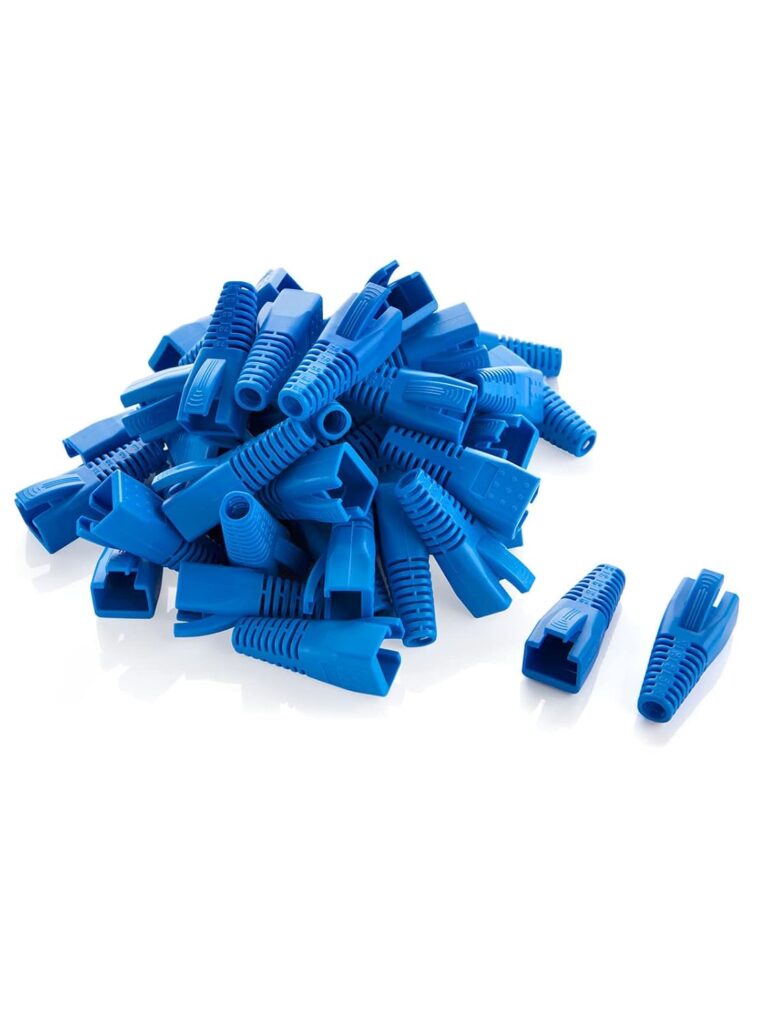
| Strain-Relief Boots | CableCreation RJ45 Ethernet Network Cable Strain Relief Boot | Protects connectors and prevents cable stress. | Adds a professional finish to cables. |
| Cable Tester | Klein Tools VDV526-200 Lan Scout Jr 2 | Confirms all eight wires are wired correctly end-to-end. | Always test both ends before installation. |
Step-by-Step: How to Make a Cat6 Cable
- Cut the cable to the needed length.
- Strip about 1.5–2 inches of the jacket using your cable stripper.
- Untwist the wire pairs and arrange them according to the T568B standard:
Orange-white, orange, green-white, blue, blue-white, green, brown-white, brown. - Trim the ends evenly using flush cutters.
- Insert the wires into a pass-through RJ45 connector in the correct order.
- Crimp firmly with your crimping tool until the connector locks.
- Slide on a boot for protection and cleaner appearance.
- Test the cable using your cable tester—every time, before installing.
If one pair fails the test, simply cut off the connector and re-terminate it. Even seasoned installers redo one occasionally!
When to Use Shielded or Pre-Made Cables
For most church setups, unshielded Cat6e UTP performs perfectly. But if your cables run alongside power lines, lighting dimmers, or long audio snakes, consider shielded Cat6a STP.
Shielded cable includes foil or braided metal wrapping that prevents signal interference. These cables require shielded RJ45 connectors—often metal-housed versions—and sometimes compression fittings or grounding. If that feels intimidating, you can always use pre-made shielded Belden or West Penn cables for critical connections.
Final Thoughts
Making your own network cables is one of the easiest ways for a church media team to save money and improve organization. Once you’ve made a few, it becomes second nature—and you’ll wonder why you ever bought pre-made ones.
Start with quality cable from trusted brands, invest in reliable tools like those from Klein Tools, Platinum Tools, and Jonard, and follow the T568B color order every time. A properly made cable will serve your cameras, switchers, and livestream computers faithfully for years of services and events.

Check out our related posts:
- How to Extend Your HDMI Signal With Extenders for Church AV Systems
- Do You Need a PoE+ Network Switch for Your Church or Livestream Production System?
This post may contain affiliate links. As an Amazon Associate, I earn from qualifying purchases.