Essential SDI Tools
Below is a simple, volunteer-friendly guide to the essential tools for making SDI cables.
If your church runs cameras over SDI, you already know how much more reliable it is than HDMI. SDI cables lock into place, run long distances, and rarely cut out during worship. But pre-made cables aren’t always the perfect length, and repairs can save time and money. That’s why many churches eventually learn to build their own SDI cables.
Understanding SDI Cable Types (Very Simply)
Most churches use one of two types of coax cable for SDI:
- RG59 – flexible, great for short to medium runs (typical patch cables).
- RG6 – stiffer, better for longer sanctuary runs.
Common SDI-rated cables include Belden 1505A, Belden 1694A, and Canare L-4CFB / L-5CFB—all are 75-ohm broadcast-quality options.
You don’t need to memorize these numbers; just try to stay consistent across your church’s install so connectors and tools always match.
Essential Tools for Making SDI Cables
Here is a simple, easy-to-scan table with every tool a church needs to build reliable SDI cables.
| Tool | Example Model | Purpose | Volunteer Tip |
|---|---|---|---|
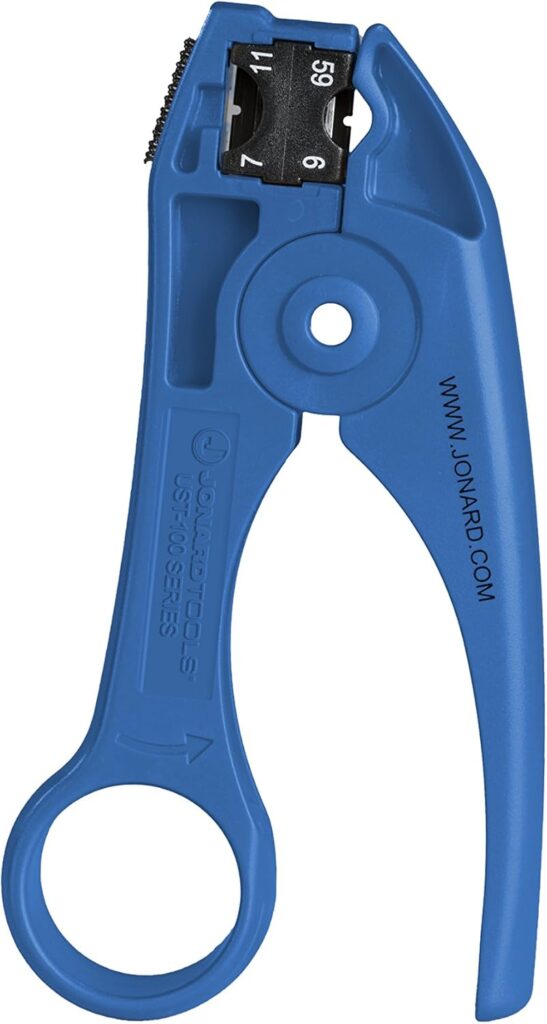
| Coax Stripping Tool | Jonard UST-100 | Strips SDI coax (RG59/RG6) to the correct depth in one motion. | Test the strip depth on scrap cable before doing a real cable. |
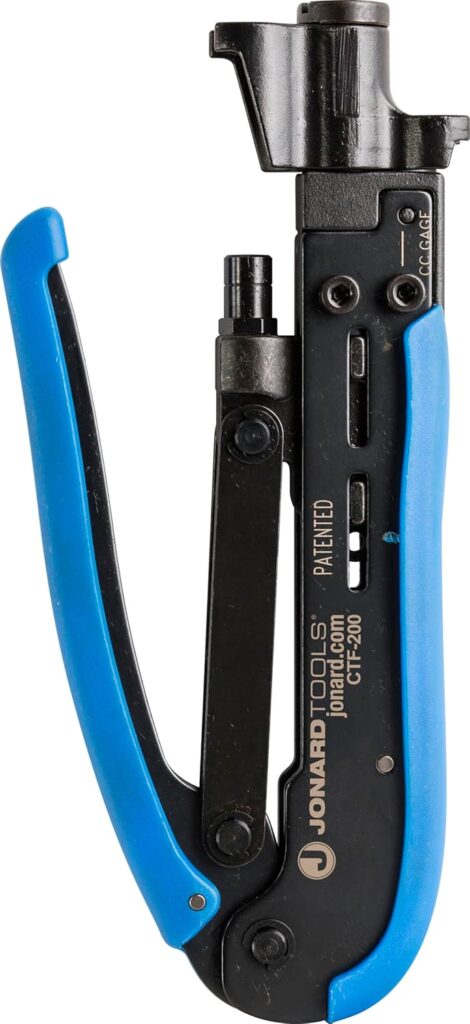
| Compression Crimp Tool | Jonard CT-200 | Compresses BNC connectors onto the cable for a secure, permanent fit. | Make sure your BNC connectors match the cable type (RG59 or RG6). |
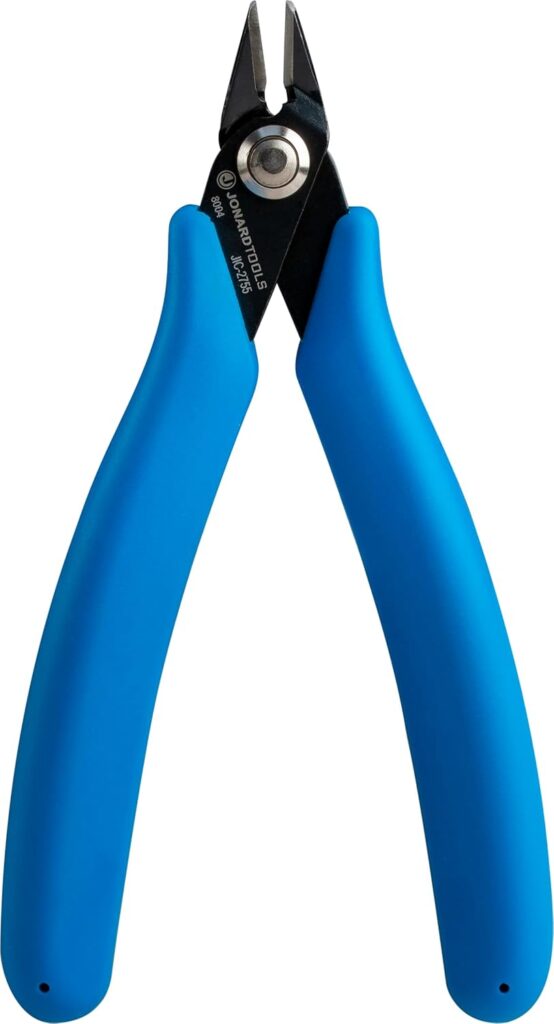
| Flush Cutters / Snips | Jonard JIC-2755 | Cleans up stray strands and trims cable neatly before connector installation. | Also useful around the booth for zip ties and light wire cutting. |
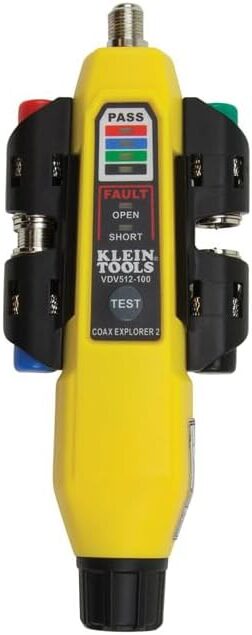
| Coax Cable Tester | Klein Tools VDV512-101 | Confirms the cable is wired correctly (good/open/short). | Test every cable before installing it in walls or ceilings. |
| BNC Compression Connectors | Kings, Canare, Belden, or Amphenol | The connectors that attach to the ends of the SDI cable. | Choose connectors specifically designed for your cable type (RG59 or RG6). |
How to Make an SDI Cable
Even volunteers with little technical experience can follow these steps:
1. Measure and Cut
- Cut the cable to your desired length.
- A clean, straight cut makes the rest easier.
2. Strip the Cable
- Use the coax stripper to remove the jacket and dielectric.
- You should see the center conductor straight and clean.
3. Prepare the Shield
- Fold back the braided shield smoothly.
- Trim stray strands with the flush cutters.
4. Install the BNC Connector
- Push the connector on firmly until it seats.
- The center conductor should extend into the connector pin.
5. Crimp the Connector
- Place the connector in the compression tool and squeeze firmly.
- The back sleeve collapses and locks everything in place.
6. Test the Cable
- Attach your coax tester to both ends.
- Confirm the cable reads “good.”
- If not, re-terminate the connector and test again.
When Churches Benefit from Making Their Own SDI Cables
DIY SDI cables make the most sense when:
- You have cameras installed in permanent locations.
- You’re adding new lines through walls or ceilings.
- You want cleaner cable management in your booth or rack.
- You need emergency repairs on Sunday morning.
- You want to save money on long cables or custom lengths.
For very small systems, pre-made cables are fine.
But once your church grows to multiple SDI cameras or longer cable runs, having these tools becomes a major advantage.
Final Thoughts
Making SDI cables may sound complicated, but with the right tools, even volunteers can learn to do it safely and confidently. A good coax stripper, compression tool, proper connectors, and a tester will ensure your church’s SDI lines remain strong, clear, and reliable through every worship service.
Check out our related posts:
- How to Connect a PTZ Camera to an ATEM Mini Using SDI Converters
- The Essential Guide: 4K vs UHD — What’s the Difference and Does It Matter for Livestreaming?
This post may contain affiliate links. As an Amazon Associate, I earn from qualifying purchases.